![]()
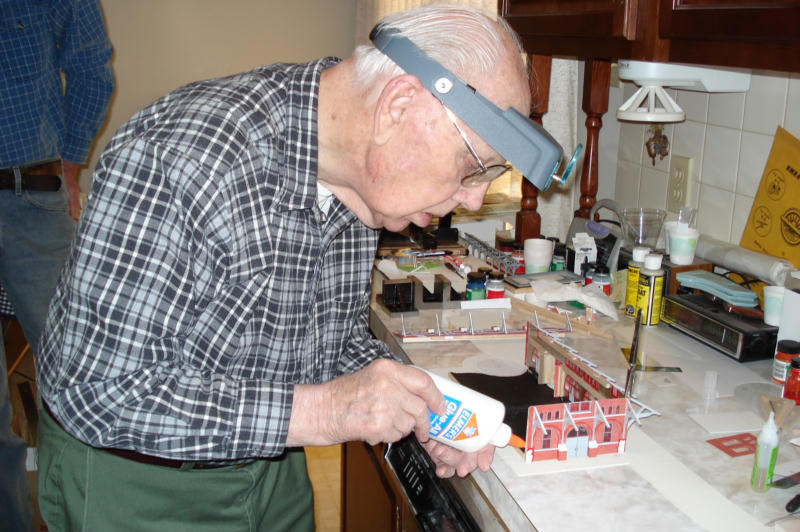
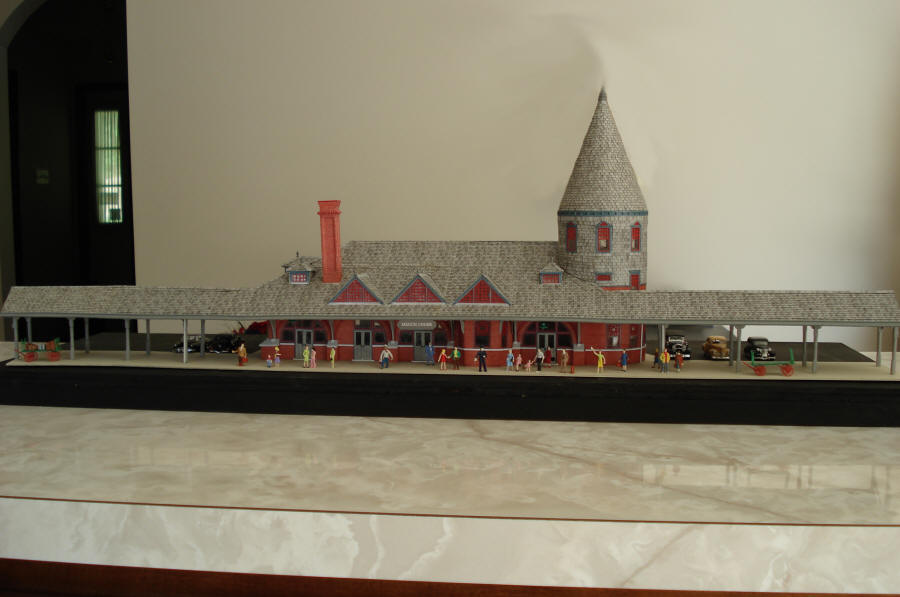
The Mauch Chunk (Jim Thorpe) Station
A photo of downtown Mauch Chunk (present day Jim Thorpe) as it appears on our layout. The building immediately behind the locomotive is our scale scratchbuilt model of the Mauch Chunk train station as it appeared during the 1930s-1940s when numerous passenger trains brought visitors and vacationers from Philadelphia and New York City.

Some history about this project...
We had the downtown area of Mauch Chunk completed for quite a while. Or, so we thought! One of its main buildings, as far as our railroad was concerned, was missing from our layout. Of course we're referring to the Central Railroad of New Jersey's railroad station at Mauch Chunk. We had a couple of false starts, but not much beyond that. The main challenges were the need for a scratchbuilt building (as there were no commercially available kits), and the significant amount of time that would be required from one of the few members we had at the time who could take on the task of scratchbuilding this magnificent structure and completing it.
Enter member Walter Eckard, who was able to find the time to commit to the project. Walt dug up several original drawings, took a lot of photos, and began construction. He also agreed to take some photos of his progress so we could follow along and watch as he worked his way through this labor of love.
Walt finished the project and the result was and is absolutely beautiful. The station is in place, and it has made a great addition to our layout.
Many thanks to Walt for his masterpiece!
Here's Walt's progress via pictures and notes...
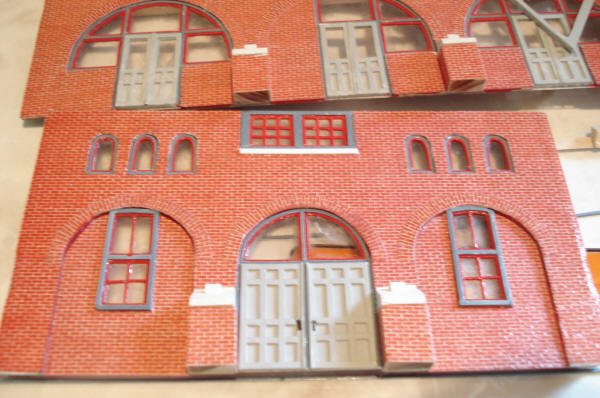 |
End wall minus details. Still to be added: roof support castings, White sills under windows (as shown on center window), and a beading strip over the brick arches. |
 |
Casting in place on wall. After the casting is removed from the mold, all casting flash is removed and the casting is painted. Here is Walt placing the casting in place on the trackside wall. |
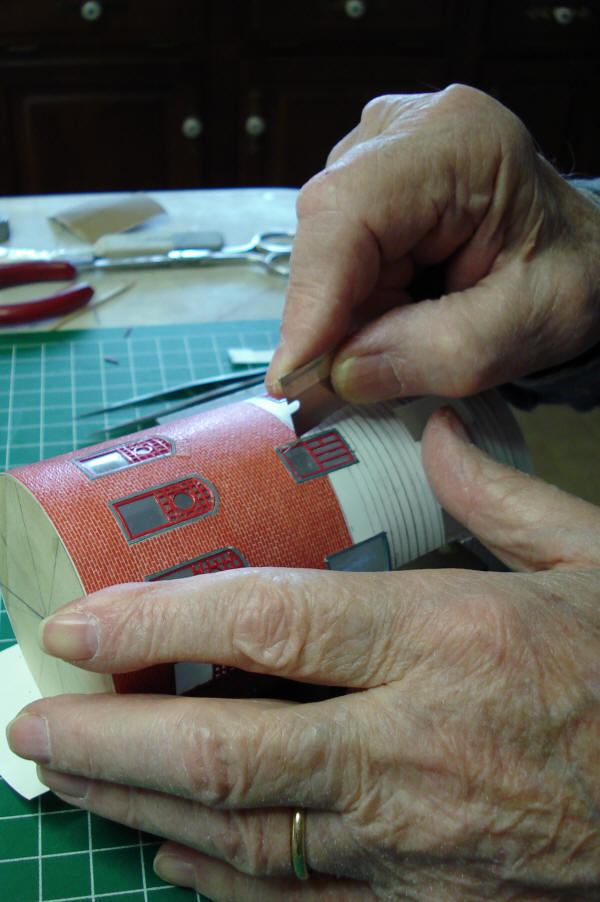 |
Working on the tower wall. There are 17 windows on this part. The first floor windows were the most tedious of all. The round window pane was made by using my power punch that has 8 dies for punching round holes. The dies are get larger by 1/32nd of an inch. Walt used a die to punch out the outside circle, then used the next smaller die to punch out the inside part. |
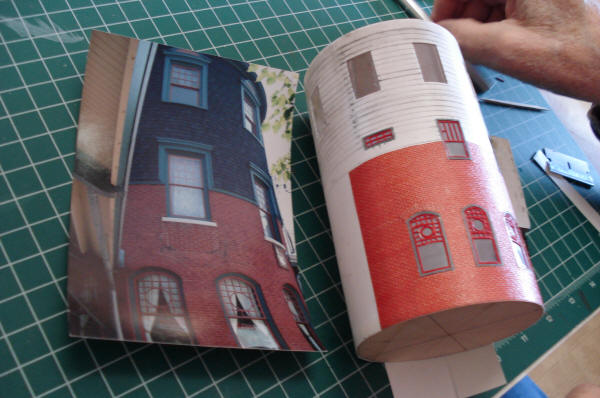 |
Photo of tower next to model. Here is Walt comparing the model of the unfinished tower wall with a photo. |
 |
Gluing window frame in place. A very, very tedious and frustrating job trying to get the very tiny pieces in place. |
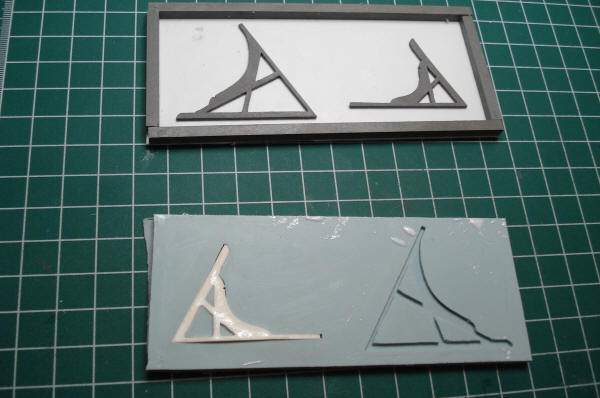 |
Pattern, mold, and casting. The top assembly is the roof supports made from basswood, painted and glued to the bottom of the mold box. Walt needed to make 6 castings of the larger piece and 12 of the smaller piece. The lower frame is the mold after it was poured and removed from the pattern. A white casting on the left is ready to be taken from the mold. |
 |
View of the street side wall. Walt is fitting the corner base upon
which the bottom of the roof support will rest." |
 |
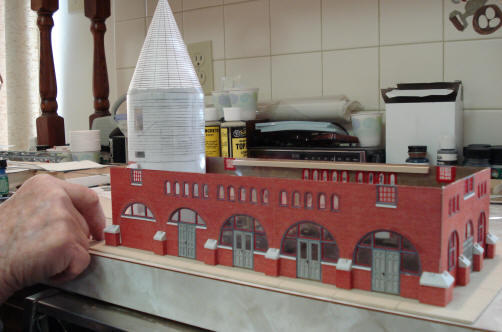
Unfinished tower in position. Walt is trying out the fit on the base of the model. Though a long way from being complete we can begin to see what the finished model will look like. |
 |
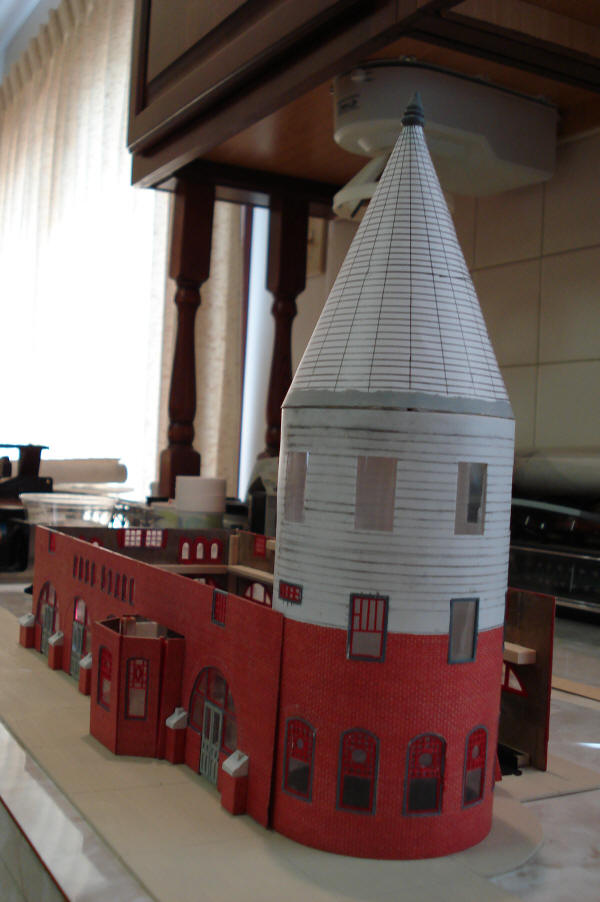
Walt's checking the brick sheeting on the tower wall to be sure that there will be a smooth transition to the trackside wall. |
 |
Here's Walt gluing the walls together and to the
base. |
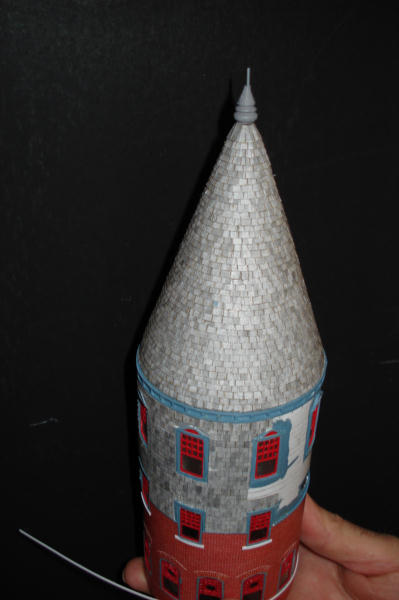 |
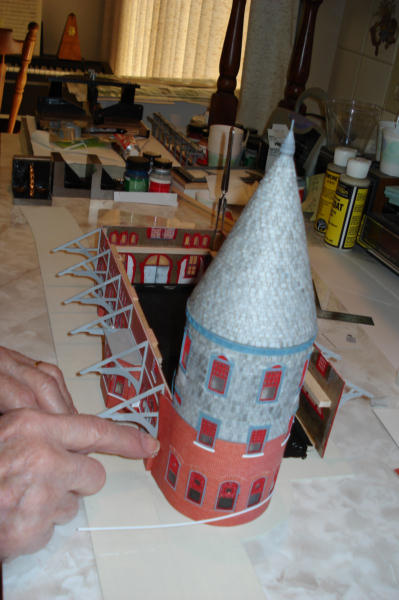
Here the roof of the tower is complete with the shingles and top finial. Note: The shingles on the white area of the wall cannot be completed until the main roof is shingled as the lower rows will butt up against it. |
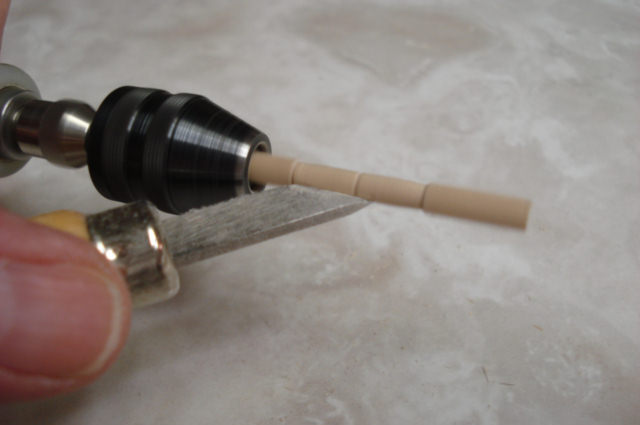 |
The platform posts were too small to turn on Walt's lathe. So, after a
little experimenting, he found that he could do a satisfactory
job by inserting them in the chuck of his rotary Dremel tool. Walt checked to see that there
was very little wobble before
beginning the turning. |
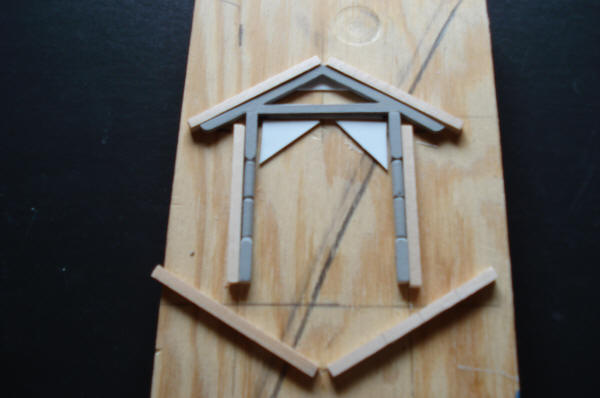 |
Walt made this gluing jig to hold the A-frame and posts in place while
the glue set up. The white plastic corner pieces are
to raise and center the brackets to the posts and A-frame. |
 |
Walt has completed the last of the sections and assembled them into the finished station. Its a beauty. We were all anxious to get it to the club and on our layout. We think it really adds a lot of credibility and realsim to the Mauch Chunk area of our layout. |
Updated September 19, 2019